Table of Contents >> Show >> Hide
- Why Cover Wall Pipes?
- Before You Hide Anything: The “Don’t Make Future-You Mad” Checklist
- The 11 Steps to Cover Pipes on a Wall
- Step 1: Decide if you’re hiding pipes or styling them
- Step 2: Identify the pipe type (supply vs. drain) and what must stay reachable
- Step 3: Fix problems first (leaks, corrosion, loose straps, noisy contact points)
- Step 4: Choose your cover style
- Step 5: Plan access like an adult (even if you’re doing this in sweatpants)
- Step 6: Measure twice, then add a little breathing room
- Step 7: Locate studs and mark your chase outline
- Step 8: Build the simple frame (furring strips or 1x lumber)
- Step 9: Add insulation where it matters (hot pipes, cold “sweating” pipes, exterior walls)
- Step 10: Close it in with the right “skin” and finish it like it belongs there
- Step 11: Make it service-friendly, then do a final “reality” test
- Fast Cover Ideas (If You Want Results Before Dinner)
- Best “Hidden but Accessible” Methods
- Mistakes to Avoid
- Conclusion
Exposed wall pipes have two modes: industrial-chic (on purpose) and landlord-special (very much not on purpose).
If yours are the second kind, don’t worryyou can cover pipes on a wall without turning your home into a construction zone or accidentally hiding the
one valve you’ll need at 2 a.m.
This guide walks you through 11 practical steps to hide plumbing pipes cleanly, safely, and in a way you won’t regret later.
We’ll cover quick cosmetic fixes (paint and covers), DIY “pipe chase” builds (aka boxing-in), and the grown-up part: maintenance access,
condensation, and code-friendly decisions.
Why Cover Wall Pipes?
- Looks: You want “spa bathroom,” not “backstage at the boiler room.”
- Safety: Hot pipes can burn; sharp edges or corrosion can snag.
- Noise: Some pipes knock or tick when hot water runs and they expand.
- Moisture control: Cold pipes can “sweat,” which can lead to damp walls.
- Energy savings: Insulating hot water pipes helps reduce heat loss.
Before You Hide Anything: The “Don’t Make Future-You Mad” Checklist
Pipes are not just ugly linesthey’re a system that sometimes leaks, needs service, and occasionally saves your house from flooding
when you can reach a shutoff fast. Before you cover anything:
- Find the shutoffs and cleanouts (and keep them accessible).
- Check for leaks (even tiny ones). Covering a leak is like putting a bandage on a dripping ceiling.
- Look for condensation on cold water lines in humid rooms. Plan for insulation or airflow.
- Know what you’re dealing with: water supply lines, drain pipes, and gas lines have very different rules.
The 11 Steps to Cover Pipes on a Wall
Step 1: Decide if you’re hiding pipes or styling them
Not every pipe needs a witness protection program. In laundry rooms, basements, and loft-style spaces, a neat coat of paint and tidy brackets
can look intentional. In bathrooms and kitchens, hiding usually wins.
Quick rule: If you can make it look intentional in under an hour, consider styling. If not, hide it.
Step 2: Identify the pipe type (supply vs. drain) and what must stay reachable
Supply lines are typically smaller (copper, PEX, CPVC) and may sweat if cold. Drain/waste/vent pipes are often larger (PVC/ABS/cast iron) and need
cleanouts to remain accessible. If a valve, union, trap, or cleanout is behind your cover, you’ll want an access panel or removable section.
Step 3: Fix problems first (leaks, corrosion, loose straps, noisy contact points)
Tighten loose pipe straps, replace rusted clamps, and add protective cushioning where a pipe taps a stud and makes “tick…tick…tick” every time hot water runs.
If you see corrosion, mineral buildup, or damp drywall, investigate and repair before building anything around it.
Step 4: Choose your cover style
Pick the least complicated solution that delivers the look you want. The most common options:
- Paint & tidy: fastest and cheapest.
- Snap-on/clip-on covers: good for straight runs.
- Boxing-in (a pipe chase): best for long runs and mixed pipe sizes.
- Disguise with design: shelves, cabinets, wainscoting, or a column.
Step 5: Plan access like an adult (even if you’re doing this in sweatpants)
If your cover blocks shutoff valves, cleanouts, or slip-joint plumbing connections, plan an access solution. A paintable access panel can disappear
visually while still letting you reach what matters. For “invisible” access, some DIYers use magnetic panels or a removable trim section.
Tip: If you’re boxing in pipes in a bathroom, consider placing access on the other side of the wall (like inside a closet) for a cleaner look.
Step 6: Measure twice, then add a little breathing room
Pipes expand and contract with temperature. A tight enclosure can cause tapping noises or stress on joints. Leave clearance around pipes, especially
hot water lines and any section that might need future replacement.
Step 7: Locate studs and mark your chase outline
Use a stud finder to locate framing and avoid anchoring into mystery zones. Mark the “outer edges” of your cover on the wall so you can visualize
the finished size. Keep it as slim as you realistically cannobody wants a pipe bump-out that looks like it’s hiding a second, smaller apartment.
Step 8: Build the simple frame (furring strips or 1x lumber)
For a DIY pipe chase, you’re usually building a lightweight “three-sided box”:
- Attach a vertical or horizontal furring strip to studs as your mounting surface.
- Build a small rectangular frame that clears the pipes.
- Fasten the frame so the front face is flat and easy to finish.
In damp areas (bathrooms/laundry), use moisture-resistant materials and keep seams caulked after finishing.
Step 9: Add insulation where it matters (hot pipes, cold “sweating” pipes, exterior walls)
If your pipes run along an exterior wall or you live where pipes could freeze, insulating can help.
In humid climates, insulating cold water pipes can reduce condensation that dampens walls.
For hot water pipes, insulation helps reduce heat loss and can speed hot water delivery.
Don’t trap moisture inside a closed, unventilated box around a sweating cold pipeinsulate the pipe and keep the enclosure dry.
Step 10: Close it in with the right “skin” and finish it like it belongs there
Common chase skins include:
- Drywall: best match for painted walls; tape, mud, sand, paint.
- MDF or plywood: smoother, faster for straight runs; paint-ready.
- Beadboard or wainscoting panels: turns a pipe problem into a design feature.
Finish the edges with trim, caulk the seams, and paint. If you’re trying to make it disappear, match wall sheen (flat, eggshell, satin)
sheen mismatch is how a “hidden” chase becomes a spotlight.
Step 11: Make it service-friendly, then do a final “reality” test
Before calling it done, confirm:
- You can reach shutoffs and cleanouts (via access panel or removable section).
- No pipe is rubbing the enclosure (listen while running hot water).
- Nothing is trapping moisture (especially in bathrooms and laundry rooms).
- Fasteners are not contacting pipes (use appropriate screw lengths and placement).
Fast Cover Ideas (If You Want Results Before Dinner)
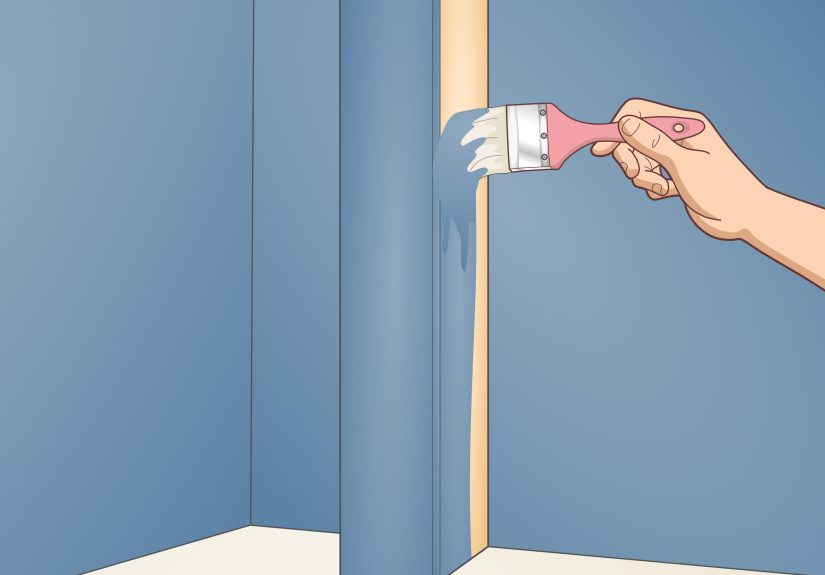
Paint the pipes to blend in
Clean, lightly sand if needed, prime when appropriate, and paint to match the wall (camouflage) or the trim (intentional).
In a utility space, painting pipes the same color as the wall often makes them visually “disappear.”
Use a decorative wrap or sleeve
For straight, accessible runs, removable wraps can soften the look. Keep materials away from very hot pipes and avoid anything that would absorb
moisture on cold lines. If a pipe sweats, insulation is a better first step than fabric.
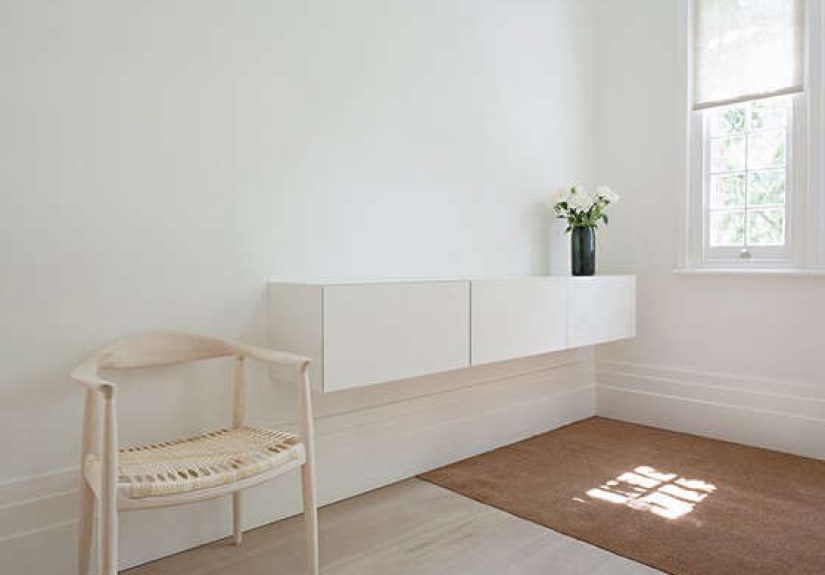
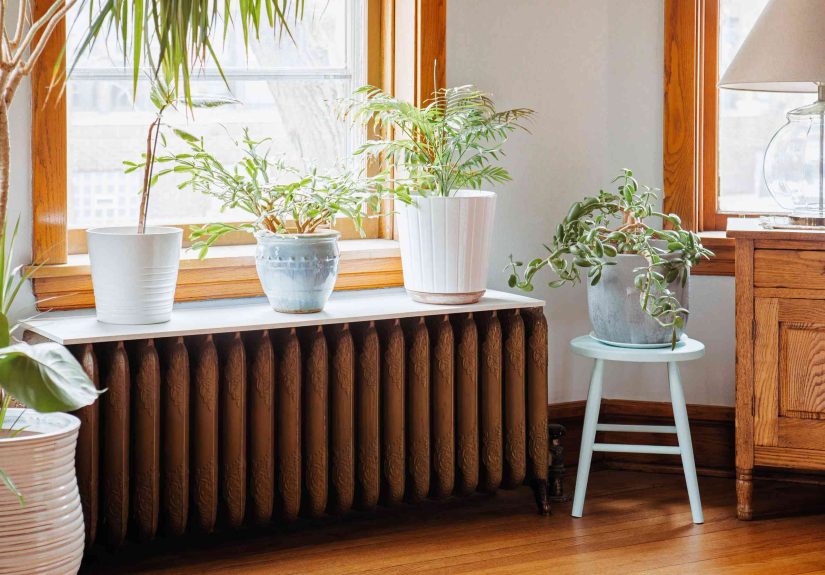
Turn pipes into a “feature” with a narrow shelf
If your pipes run vertically, a slim box can double as a small ledge for décor (or storage baskets in a laundry).
Think of it as giving your pipes a little hatand suddenly they’re charming instead of chaotic.
Best “Hidden but Accessible” Methods
Paintable access panels
A standard plastic or metal access panel can be painted to match the wall. Installed neatly, it reads like a subtle wall detail instead of a maintenance hatch.
Choose a size that lets you reach valves, slip joints, or service points without scraping your knuckles into a new personality.
Magnetic/removable panel tricks
For a cleaner look, some covers are built as removable panels held with magnets or concealed latches. This is especially handy in finished spaces
where you want access without a visible door outline. The key is making it easy enough that someone will actually use it when needed.
Mistakes to Avoid
- Sealing in a cleanout: cleanouts must remain accessible; don’t bury them behind permanent construction.
- Blocking shutoff valves: emergencies don’t schedule appointments.
- Skipping insulation in humid rooms: condensation can quietly damage drywall.
- Using the wrong materials in wet zones: untreated wood + bathroom humidity = a science experiment.
- Building too tight: pipes need clearance; tight chases can cause noise and stress.
- Hiding gas lines or vents incorrectly: when in doubt, follow local code and get a pro.
Conclusion
Covering pipes on a wall is one of those satisfying projects where a small visual change makes a room feel instantly more finished.
The secret isn’t fancy carpentryit’s planning for access, controlling moisture, and choosing the simplest method that fits your space.
If you remember only two things, make them these: (1) fix leaks and sweating before you cover, and (2) never trap shutoffs and cleanouts behind a permanent wall.
Your future self will be so grateful they might even stop rolling their eyes at your “quick weekend project” energy.
Bonus: of Real-World Experience (What People Actually Run Into)
In real homes, covering wall pipes usually starts with confidence and ends with someone standing in the hardware aisle holding two boards,
a tube of caulk, and the sudden realization that walls are not perfectly straight. The good news: that’s normal. Most “pipe cover” projects go smoothly
once you accept one truthyour house was not built by a laser-guided robot, and your new chase will need a little flexibility.
One common experience is discovering that the pipes you planned to box in are slightly offset from stud to stud. That’s why Step 7 matters:
locating studs first helps you design a frame that fastens securely without forcing the chase into an awkward zigzag. DIYers often solve this by
building the chase slightly wider than the pipe run, then using trim to make the edges look crisp. It feels like “extra work” until you see how much
cleaner the final result lookstrim hides tiny gaps, and caulk hides the rest.
Another frequent surprise is condensation, especially in laundry rooms, basements, and bathrooms. People box in a cold line, paint it,
celebrate… and then notice a faint musty smell weeks later. The fix is usually simple: insulate the cold pipe so humid air can’t condense on it,
and make sure the enclosure isn’t trapping damp air. If your room is humid, running a fan more often (or improving ventilation) can make a big difference,
too. The lesson: a pipe chase is not a waterproof containerit’s part of the room, so it has to stay dry like everything else.
Access is the other “learned the hard way” moment. Homeowners often skip an access panel because the wall looks better without it. Then a valve drips,
a shower cartridge needs replacing, or a cleanout becomes necessaryand suddenly “pretty wall” becomes “why is there a hole in my pretty wall.”
The most satisfying solutions are the ones that hide access in plain sight: a paintable access panel that blends with the wall, a removable panel
in a closet on the opposite side, or a magnetic front face that pops off without tools. When access is easy, you’ll actually use itand that’s the difference
between a cosmetic cover and a smart, maintainable upgrade.
Finally, the best-looking pipe covers usually do double duty. A bump-out becomes a slim display ledge. A vertical chase becomes a “column” that frames a vanity.
In basements, a chase can align with a row of storage shelves so it looks intentional. When the cover looks like it belongs in the room’s design,
nobody thinks “they hid pipes”they think “this space feels finished.” That’s the win.