


Quontic Bank High Interest Checking offers a rare chance to earn meaningful interest on everyday checking money...
Sweetened condensed milk is creamy, sweet, rich, and wildly useful in desserts, coffee, and quick homemade treats....
Former reality and game show contestants have revealed that TV magic is built from long waits, strict...
The Lyndall Single Post Toilet Paper Holder is a sleek, wall-mounted bathroom accessory designed for easy roll...
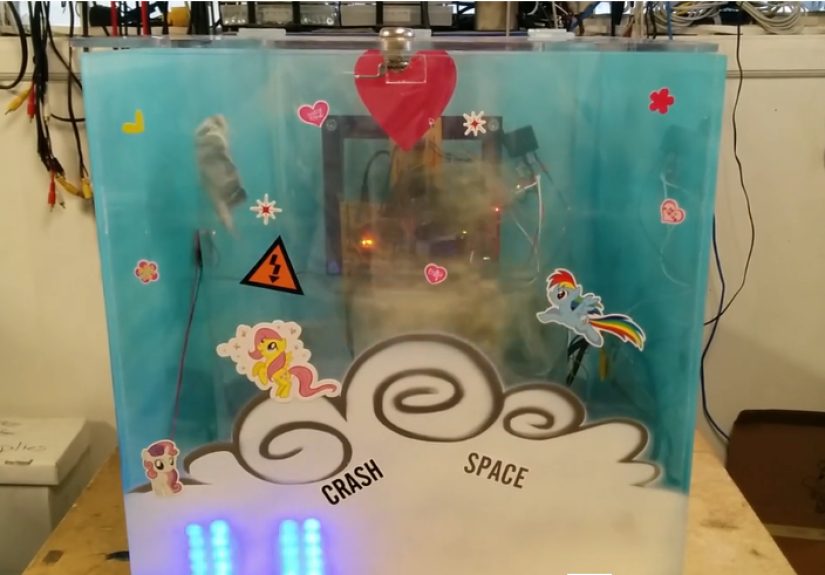
A hackerspace donation box does not have to be boring. This over-the-top My Little Pony-inspired build turns...
Antipsychotics for children can help treat serious symptoms such as psychosis, mania, severe aggression, self-injury, or irritability...

Looking for unforgettable books by women? This guide gathers 50 favorite novels, memoirs, essays, classics, and modern...

A pool house can do far more than store towels. From compact cabanas and outdoor showers to...

Think you know Wicked better than the average Oz citizen? This fun and detailed Wicked quiz tests...